Top 7 Lessons from Shooting a Bedroom with an Offside Entrance
What's up, internet - I'm Aleksey Volchek, and I've been photographing houses since 2018. I'm collecting various lessons and putting them in no particular order for the time being, but you can still subscribe to my real estate photography courses online!
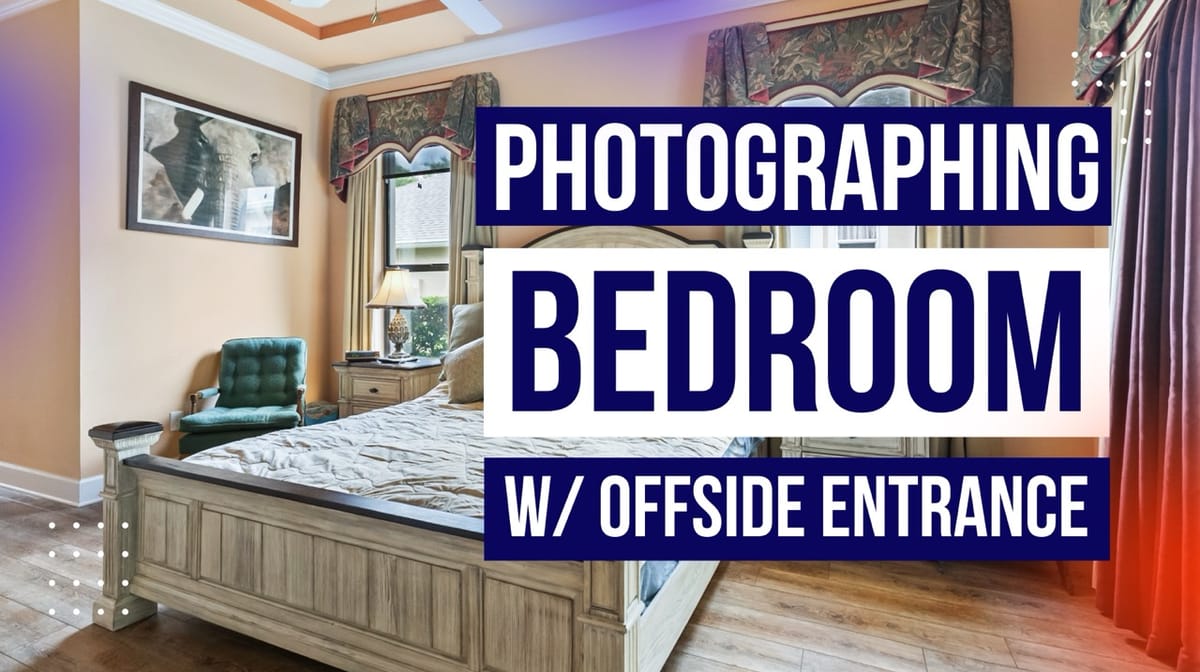
If you're looking to improve or learn real estate photography skills, understanding how to capture challenging room layouts is essential. In this real estate photography (mini) course, we break down real-world techniques for photographing a primary bedroom with a non-traditional, offside entrance — one of the most common but overlooked composition challenges in real estate photography. Whether you're a beginner or a seasoned photographer, mastering spatial flow, framing logic, and camera positioning can elevate your listings and help you stand out in a crowded market.
1. Don’t Assume the Entrance = the Middle
Just because a door is centered in a wall doesn’t mean it’s centered in the room.
✅ Always identify the true center of the room by measuring between opposing walls — not the entry point.
2. Start with the Opposite Wall
The first shot of any room should reflect what the buyer sees upon entering.
🎯 Shoot toward the wall opposite the entry — not the door wall or a corner — to anchor spatial orientation.